Progressive Capture Workflow
Home > Administration > Workflow > Progressive Capture
Introduction
Progressive Capture is a graphical workflow tool that provides a new and simple way to define the capturing of information for a particular application. An application that uses uses Progressive Capture will include a number of small forms for collecting information related to the application. These forms can be optionally added, ordered, and branched depending on the information being captured.
Features
To configure progressive capture for Hornbill Service Manager:-
- Use Hornbill Administration - Launch Hornbill Administration
- Create or Change the Progressive Capture Flow - Choose Hornbill Service Manager in the drop down box in the top left. Then select Progressive Capture and either select
 or the flow of the existing process you want to change.
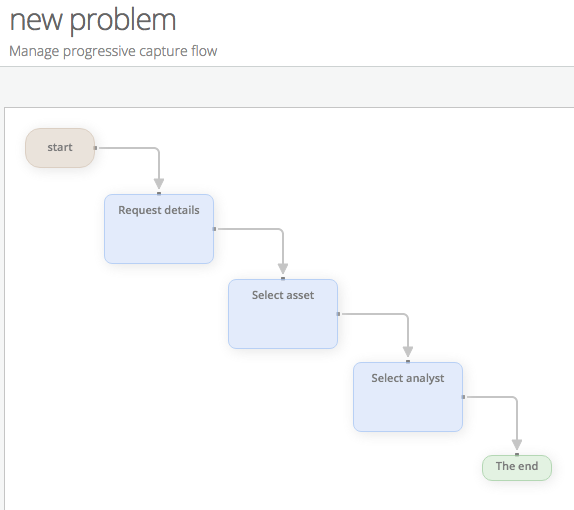
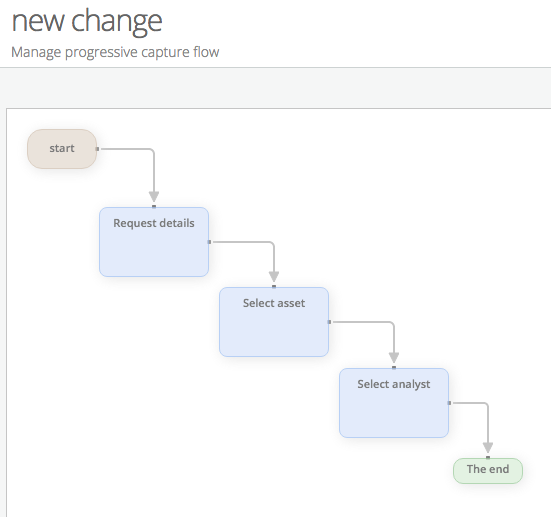
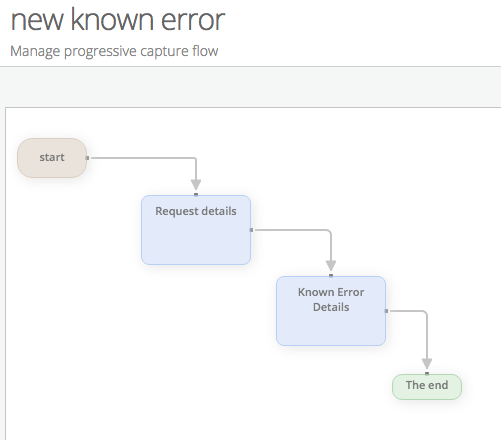
 - Edit the flow - A progressive capture form (PCF) allows you to capture the individual pieces of information that you need to be able to log your request. Progressive capture flows can include one or many PCF's. There are 4 nodes you can use and lines to connect them. Available nodes are:-
- Start node - Every Progressive capture flow will have one of these to initiate the flow.
- Branch node - Allows a custom expression to alter the flow to show different PCF's.
- Form node (PCF) - You can choose from a number of pre-configured small forms (in Form Properties) and place them in the sequence you need. Currently the existing data fields on the forms can't be changed.
- Customised Form - Allows you to create your own progressive capture form complete with custom fields and values. Currently listed as beta functionality and is subject to change.
- End node - Every Progressive capture flow will have at least one of these to end the flow.
- Switch Process - Allows you to link progressive Capture's together and seamlessly switch from one to another
When editing a progressive capture flow, it is important to remember that there is no 'right click' anywhere on the canvas. To add a new PCF into the flow, click and hold the edge of the form that you wish to append to and drag the mouse into a blank space on the canvas before releasing. You will then be presented with a list of available nodes. To remove a link between two progressive capture forms, highlight the link and press 'delete' on your keyboard. If you are using a mac, press the backspace arrow and fn keys together.
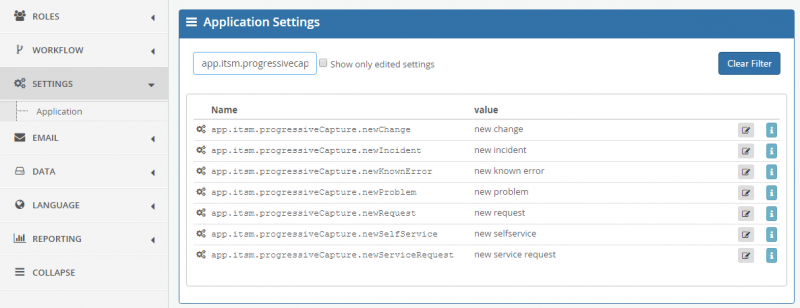
- * Specifying the flow against the relevant Service Manager Application setting (available via Hornbill Administration):
- * Linking the Progressive capture against a specific Request Catalog Item - Read more here
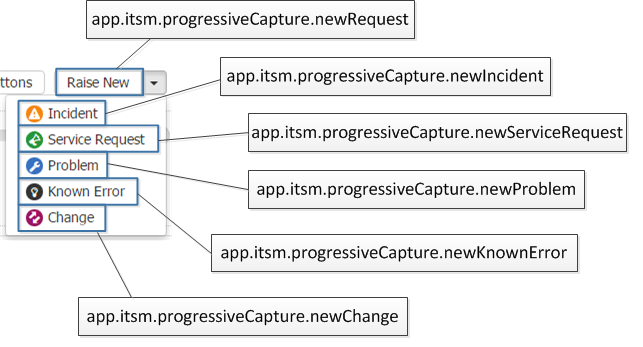
- - For "Raise New" use app.itsm.progressiveCapture.newRequest field with the new name and then save
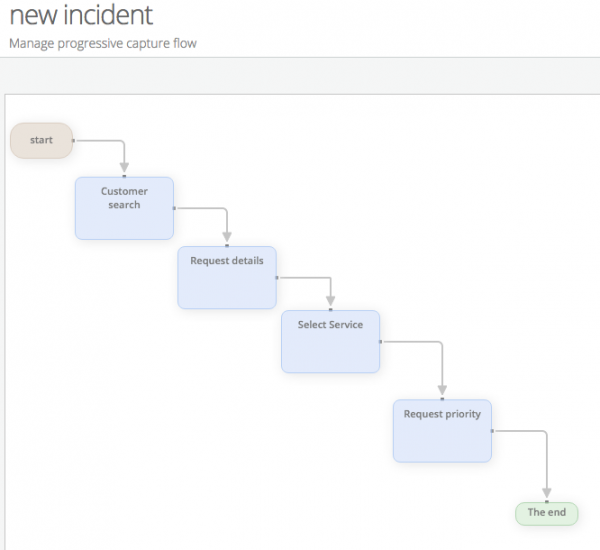
- - For "Incident" use app.itsm.progressiveCapture.newIncident field with the new name and then save
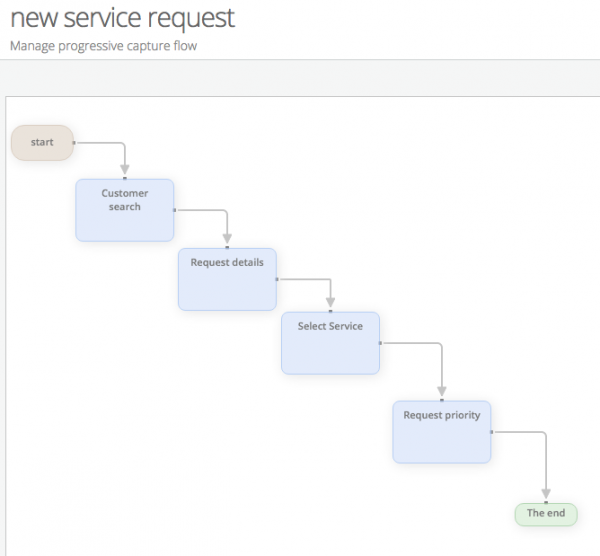
- - For "Service Request" use app.itsm.progressiveCapture.newServiceRequest field with the new name and then save
- - For "Problem" use app.itsm.progressiveCapture.newProblem field with the new name and then save
- - For "Known Error" use app.itsm.progressiveCapture.newKnownError field with the new name and then save
- - For "Change" use app.itsm.progressiveCapture.newChange field with the new name and then save
Sharing and Visibility
Progressive capture owners will be able to view their own captures, and captures which have been shared with them from the Progressive Capture List.
When creating or editing a capture it is possible via the Manage Process Settings and Grant Access To option to share your process with:
- Roles
- Users
- Groups - Configured via the Organisational group structure
It is possible to share captures with multiple users, roles and groups. Once a capture has been shared, the user will be able to view the capture from the Progressive Capture list.
To remove visibility to a specific User, Role or Group simply select the Trash Can icon next to the item you wish to stop sharing the capture with.
To enforce the above sharing and visibility controls, ensure the system setting security.bpm_access_controls.enabled is set to On from the administration console:
- Home > System > Settings > Advanced
Branches
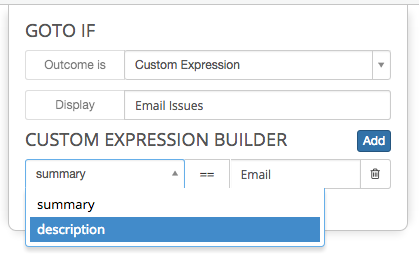
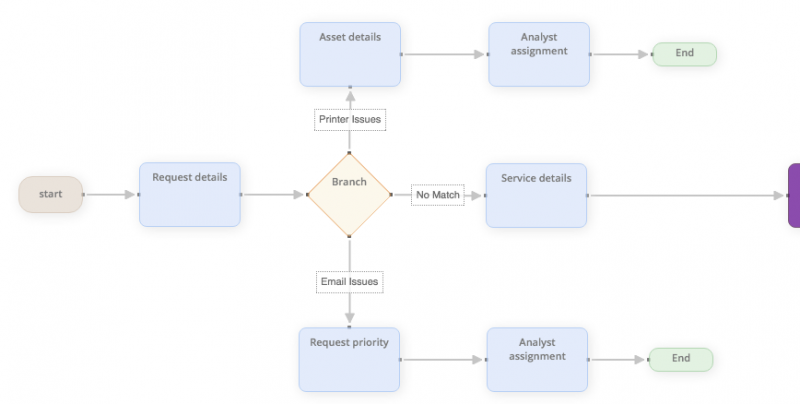
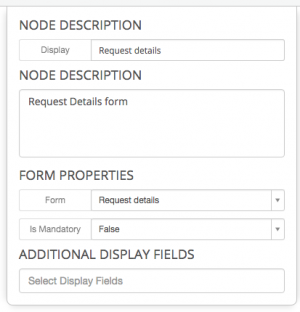
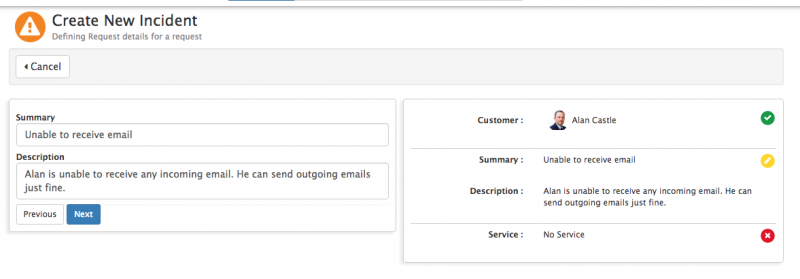
In progressive capture, branches allow the workflow designer to send the analyst down different routes to potentially collect different information depending on the choices that are made on progressive capture forms. It is important to remember that a branch node will always inherit the outcomes from its parent progressive capture forms. This means that if you place a branch node after the request details form (as shown in the below screenshot), the only pieces of data that you can make a decision on are the Summary and Description fields (only 2 fields on this default form).
To add a custom expression to a decision node you must first connect the decision node to the next node in the flow. You can then click the linking line and define your custom expression. You can define multiple outcomes from a decision node, however you must always have at least one valid outcome, otherwise the progressive capture flow could potentially have nowhere to go which will make it error.
Switch Process
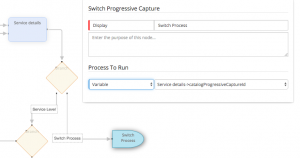
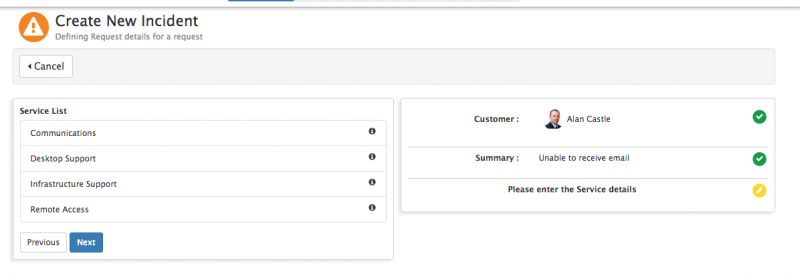
In Progressive Capture the Switch Process node provides the ability to seamlessly move to or link Progressive Capture flows together. One example of where this maybe useful is in Service Manager when choosing a Request Catalog item from the Services Progressive Capture form, the switch process can be used to switch to the the Progressive Capture flow which is assigned to the chosen Request Catalog item.
Advantages of using the Switch Process Node
- When switching processes the UI for the analyst is smooth as you are liking one process to another not replacing one with another
- The ability to return / revisit the forms in the initial process capture flow, once you have switched or linked to a second process capture flow in order to change values / choices or even change which progressive capture to switch / link too.
Example
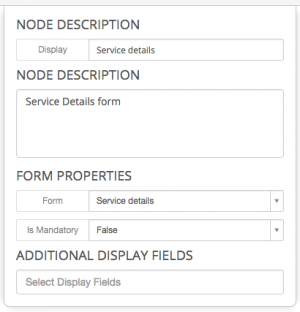
Following the use of the Services Details form, you may include Branch node, and have two outcomes.
- 1. Using a Custom Expression, perform a check to see if 'Service details -> catalogProgressiveCaptureId Is Set (if a request catalog item has been selected) from here link to the Switch Process node
- 2. Using another Custom Expression perform the same check but set this to Is Not Set (a Service rather than a request catalog item has been selected) and build your logic accordingly, equally you could define multiple other outcomes from this branch node to reflect the different service choices and paths you wish to take.
On the Switch Process node, you can configure this to link to a specific new process, or use a Variable to link to the progressive capture linked to the request catalog item which has been chosen. In this example this is what we will do and the Variable to use would be Service details -> catalogProgressiveCaptureId
Default Forms (PCF's)
Hornbill provide a number of default progressive capture forms that are available to use right out of the box. These forms are listed alphabetically below:
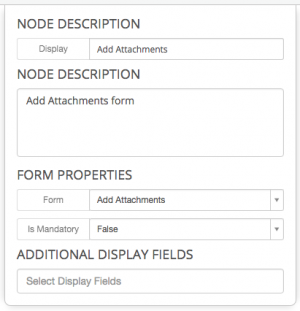
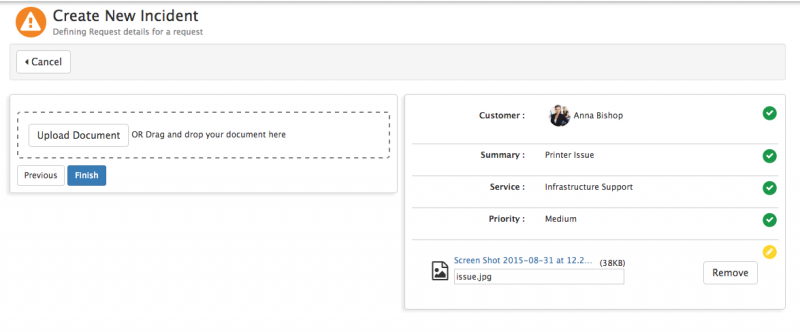
Add Attachments
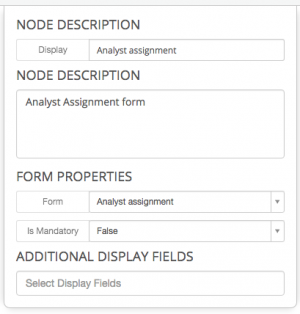
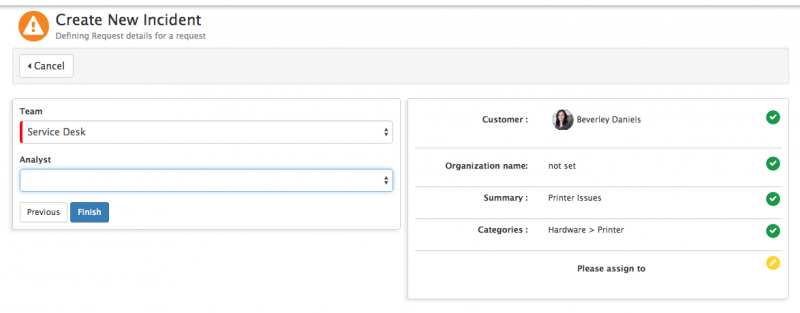
Analyst Assignment
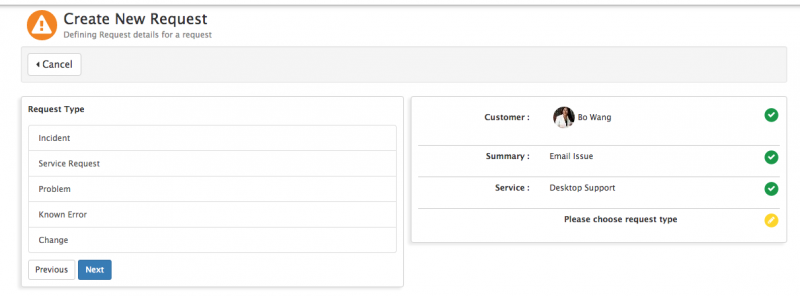
Analyst Request Type
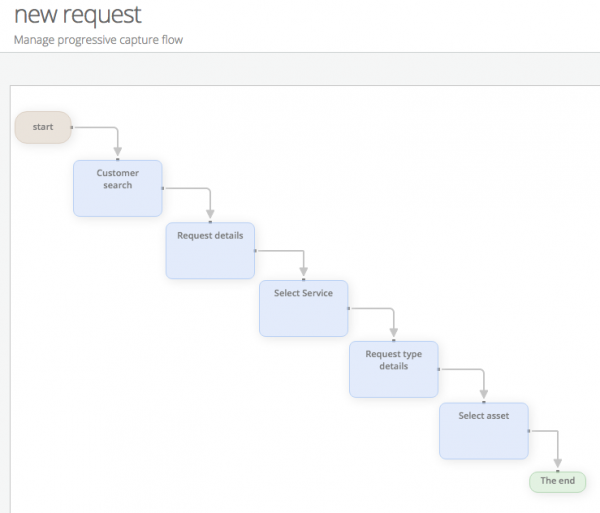
The 'Analyst Request Type' PCF allows an analyst to choose the type of request that will be created. This PCF form is most commonly seen in the 'New Request' progressive capture flow as the analyst may not know which type of request needs to be raised when they first start capturing information:
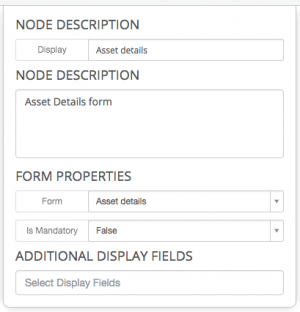
Asset Details
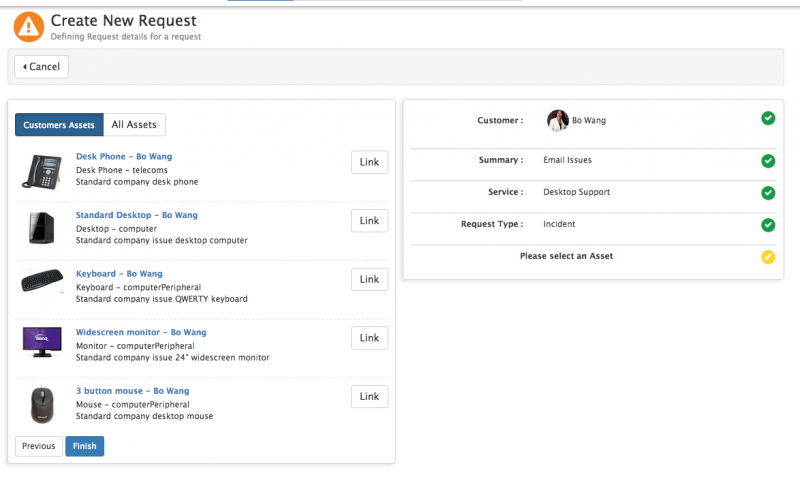
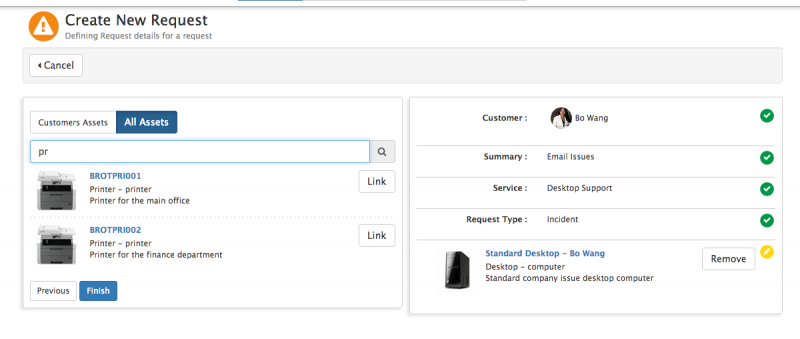
The 'Asset Details' PCF allows an analyst to associate assets to the request. By default, all assets that are associated to the customer of the request are shown however it is also possible to perform a general search on assets that are in the system. It's possible to associate multiple assets to each request:
Change Type
Customer Request Type
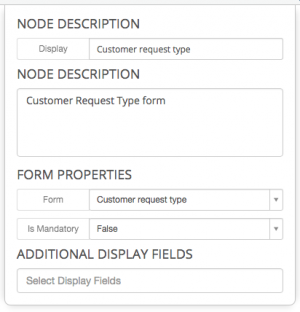
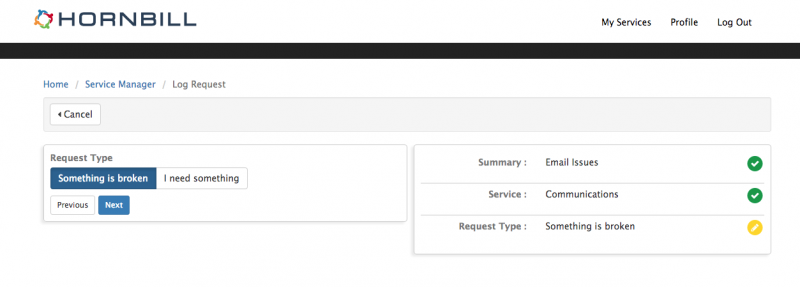
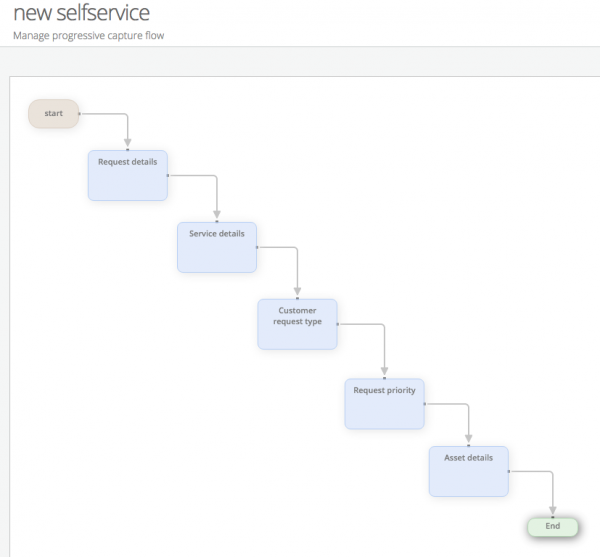
The 'Customer Request Type' PCF allows the customer to choose what type of request they are raising. This PCF is most commonly seen on the 'New Self Service' progressive capture flow which is used by both the Hornbill Service and Customer portals. It is slightly different to the PCF 'Analyst Request Type' in that it only offers the ability to select a request type of Incident (Something is broken) or Service Request (I need something):
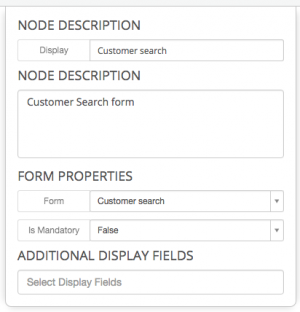
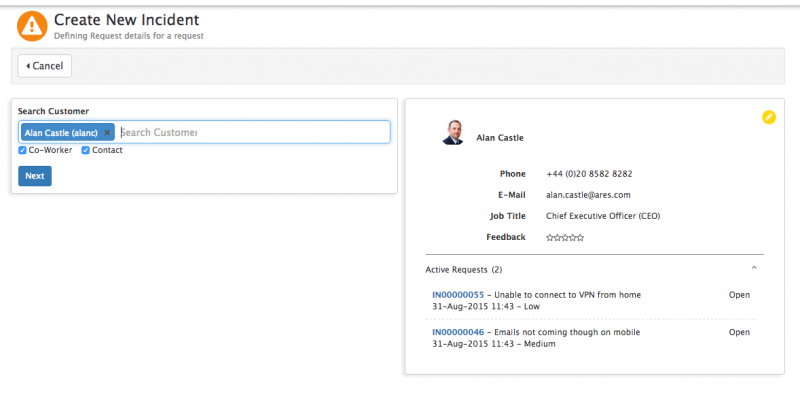
Customer Search
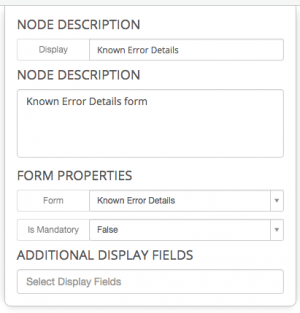
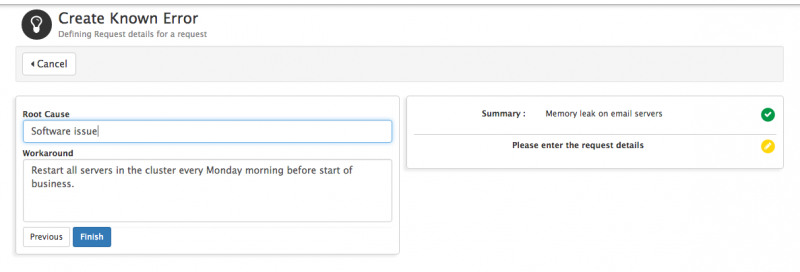
Known Error Details
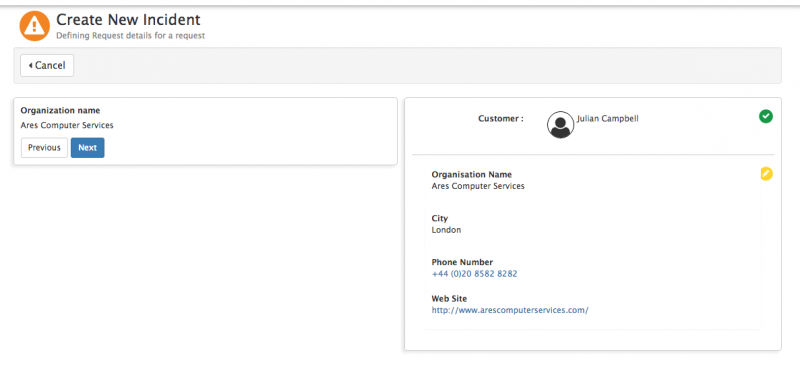
Organisation Details
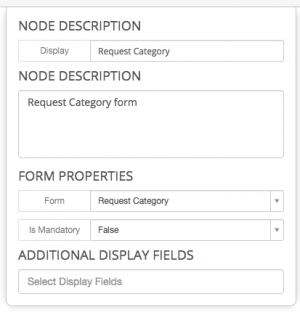
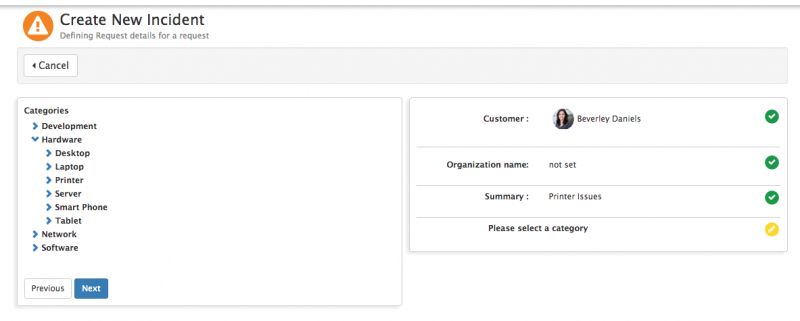
Request Category
Request Details
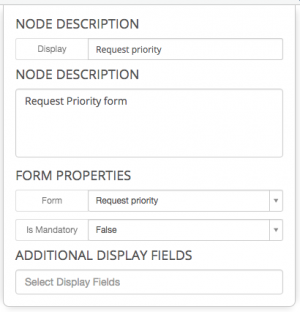
Request Priority
Default Form Configuration
Default forms can be customised
When selecting a default Hornbill PCF there are two ways in which you can customise it:
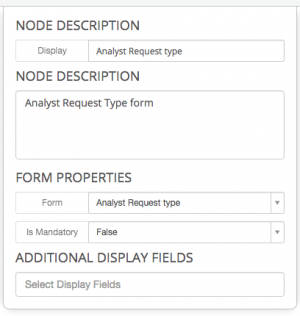
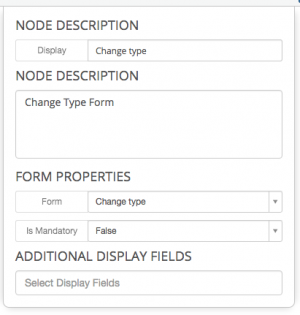
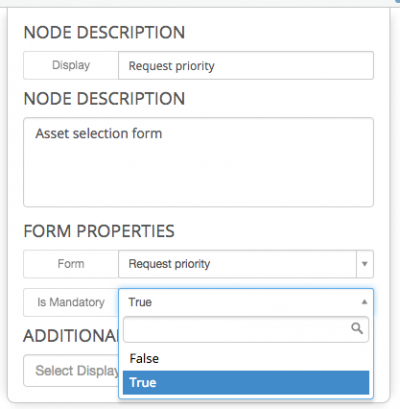
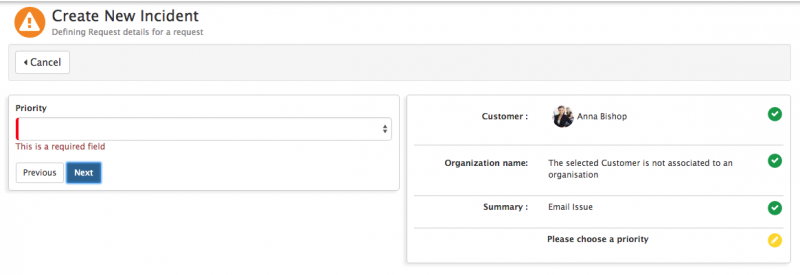
- Mark as Mandatory - Setting this option to true means that a value or values will need to be provided by the analyst before they can advance to the next progressive capture form. The default setting for each form is false. Mandatory fields are indicated by the vertical red bar on the left edge of the field. If a field is required and you attempt to move to the next PCF without providing a value, you will be shown an error message.
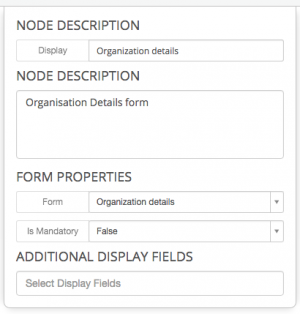
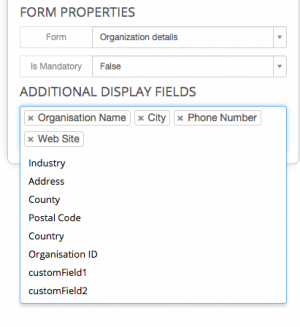
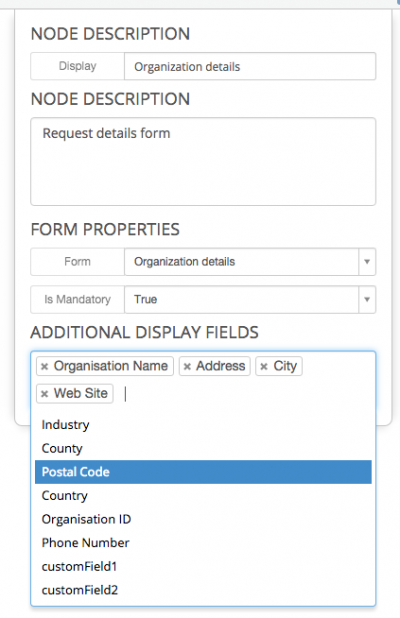
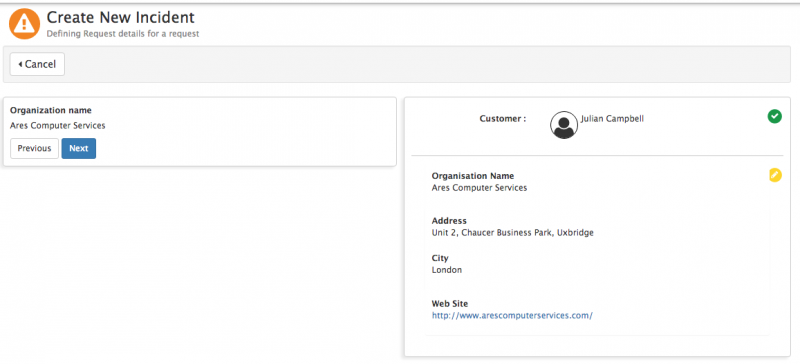
- 2. Define Additional Display Fields - Certain PCF's have the ability to display additional information such as the Organisation Details and Customer Search forms. A Hornbill administrator can select which additional data is displayed when an analyst selects a value from the selected progressive capture form.
Customised Forms
As well as standard forms, Hornbill also provide the ability to create your own custom forms. With custom forms, you can create multiple questions of different field types for analysts to answer during progressive capture. This feature is particularly useful for new starter/leaver processes as the progressive capture workflow designer is able to ask for the exact pieces of information that they require for their process.
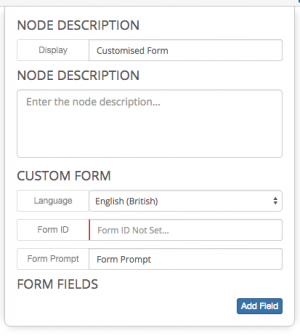
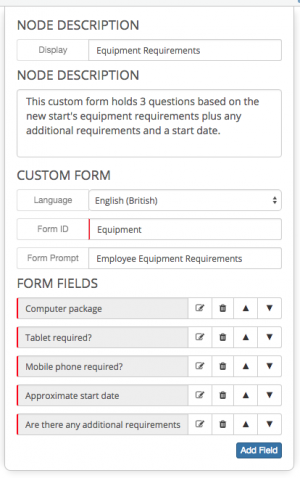
With each custom form, it is a good idea to give it a unique form id so that you can identify the answers to your questions later on when using the Hornbill Business Process Workflow engine. The Form Prompt is the piece of text that the user will see when they get to the custom PCF when logging a new request:
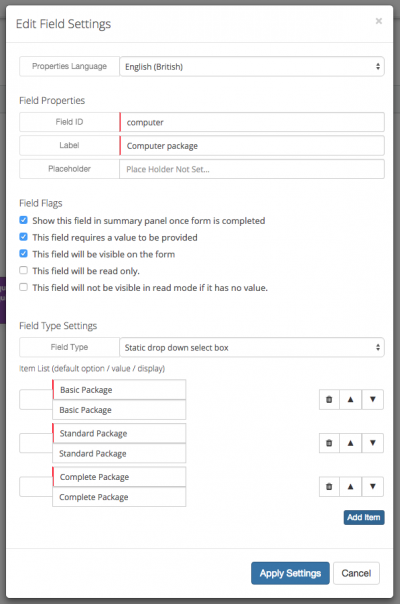
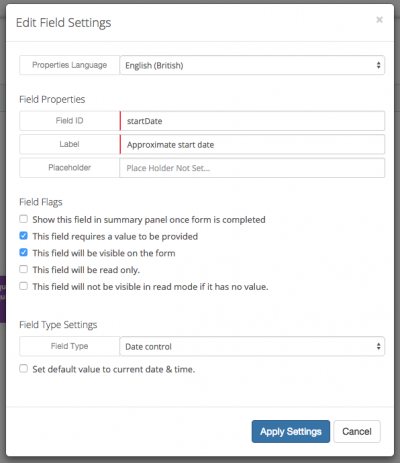
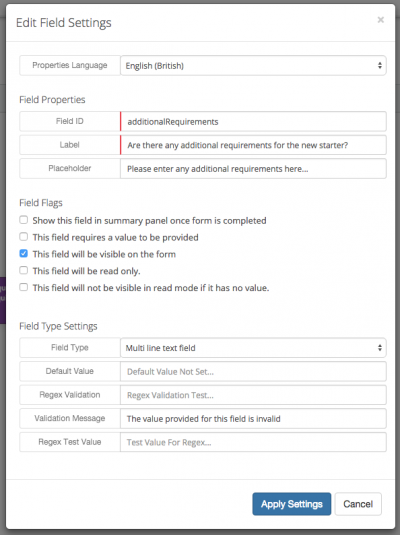
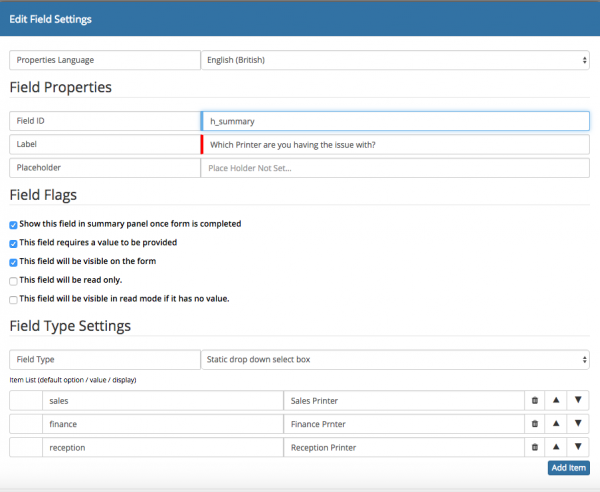
When adding fields to custom forms, there are several configuration options to consider. You can for example, mark a field as mandatory, read only, and include it as part of the summary. There are also multiple field types to choose from including single text fields, a multi line text field, selection boxes and date/time pickers:
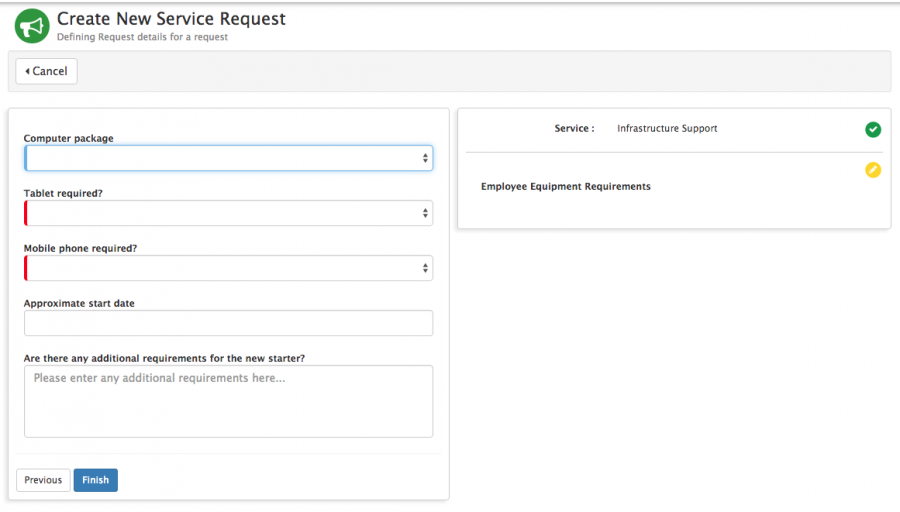
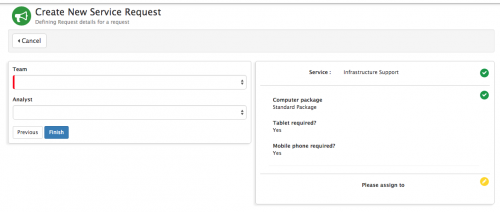
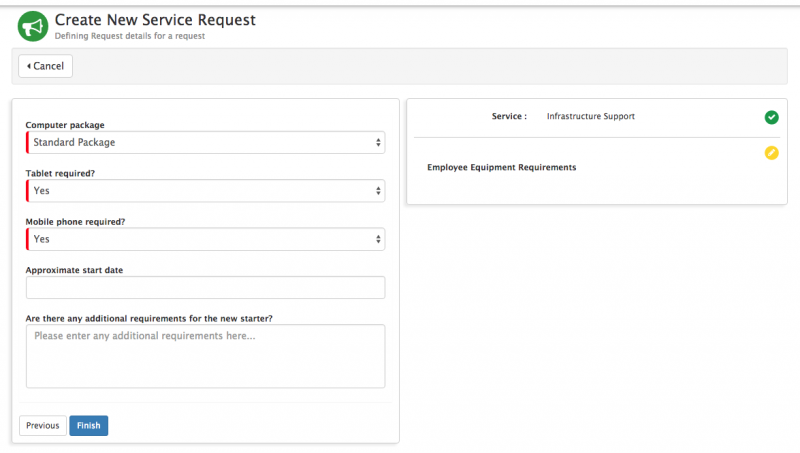
Analyst view when logging a request:
Mapping Fields from Customised Forms
When creating customised forms, and custom questions the default behaviour is for the question and answer to be visible on the request form in a Questions collapsable section. It is also possible to map the answer from a custom question to one of the default fields on a request.
When creating a custom question on a customised form, each question will require a Field ID to be specified, it is here that the mapping can be performed. When defining the Field ID, if you use any of the following values, the answer to this question will be mapped to the field you have specified.
Available Fields to Map to
- Summary - To map to this field the Field ID needs to be set as h_summary
- Description - To map to this field the Field ID needs to be set as h_description
- Custom Fields a - p - To map to any of the custom fields the Field ID need to be set using the following format h_custom_a or appropriate for the custom field you would like to map too.
When custom questions have been mapped to a default request field, the question and answer are still available in the Questions section on a request as well as the default fields mapped too.
- This will allow for the original answer to be retained
- The default fields values can be changed once logged
Considerations
- If the Default Request Details form is used in your progressive capture flow, and you try to map to h_summary or h_description, the values will not overwrite or be written to the summary or description fields, but the custom questions and answers will still be written to the Questions section on the request.
- If the same mapping is used on different custom forms in your progressive capture flow, the first mapping will be written to the specified default field on the request, and any subsequent mapping to the same field will not overwrite this value, but will be written to the Questions section on the request.
Using Custom Questions and Answers in Email Templates
If you have a requirement to include the answers to custom questions in email templates within your business process, it is now possible to utilise the above mapping to write the answers to the custom questions into default fields which are immediately available to use as variables when creating your email templates.
By using the above mapping to any of the requests custom fields, when creating your email template, simply look for the Extended Information options available from the variables drop down pick list. They will look like this: {{Extended Information.H_custom_x}}. The Extended Information options are listed as 1 through to 20 and these equate to the custom fields a through to p which you will have mapped to. By selecting the required variable in your email template, this will pass through the answer from your custom question which has been mapped to the corresponding custom field.
