IT Automation
Jump to navigation
Jump to search
| Home > Administration > ITOM > Runbooks > IT Automation | Index |
IntroductionThe IT Automation node is used to execute an ITOM package operation in a similar way to that of creating an IT Automation Job. Each time the node is used, a new Job will appear in the Job queue where it can be monitored/managed in the same manner as other ITOM jobs. |
Related Articles |
Adding the IT Automation Node
- From an existing Node within a Business Process
- Place the mouse pointer over the node to expose the connection arrows.
- From a connection arrow, drag out a new connection line
- Select IT Automation
- From a Connection Line between to nodes
- Select the Connection Line and Right Click
- Select Add node between connected nodes from the context menu
- Select IT Automation
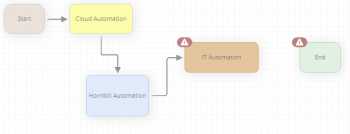
- IT Automation Nodes are displayed in Tan; to help differentiate from other node types.
Configuration
Two options are available to expose the properties of the Hornbill Cloud Automation Node. You can either place your mouse pointer over the Cloud Automation node to expose the Cog icon and click on this icon or double click anywhere on the Could Automation Node.
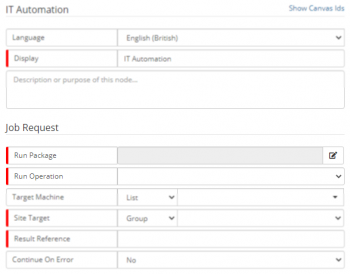
IT Automation
- Language
- Select the language that you want to work in. This will default to the language set in your profile. If you have other users that will be viewing the workflow that operate in a different language, you may want to provide translations for them by selecting their language and providing the appropriate translations.
- Display
- Give the Cloud Automation node a display name for how it will appear on the business process design canvas
- Description
- Optional text area that can be used to provide a description detailing the node's function

